
The Best Fluffy Pancakes recipe you will fall in love with. Full of tips and tricks to help you make the best pancakes.
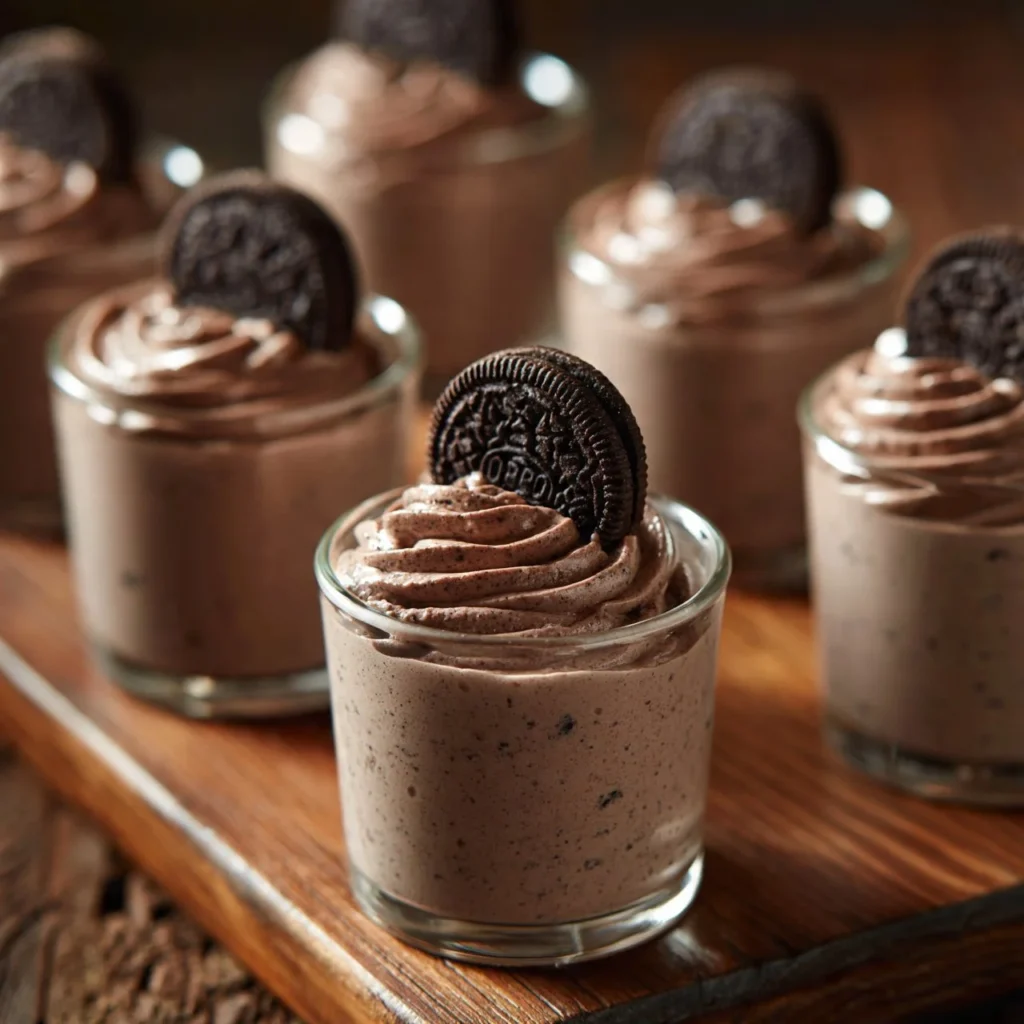
Oreo mousse is the perfect dessert for any occasion. With its rich, creamy texture and chocolatey cookie flavor, it brings joy to dessert lovers everywhere. Not only is it incredibly easy to make, but it also delivers a delightful combination of sweetness and crunch that will leave everyone wanting more. Whether you are hosting a gathering, celebrating a special milestone, or simply treating yourself, this indulgent dessert will surely impress.
Why Make This Recipe
Oreo mousse is a fantastic choice for a variety of events and gatherings. It is quick to make and can easily feed a crowd. With just a handful of simple ingredients, you can whip up a dessert that looks and tastes impressive without spending hours in the kitchen. Plus, it’s a kid-approved recipe that even the pickiest eaters will enjoy! The fact that it can be prepared in advance and chilled in the refrigerator makes it a stress-free option for busy entertainers.
What Makes This Recipe Special!
What sets this Oreo mousse apart is its delightful layers of texture and flavor. The combination of smooth cream cheese, airy whipped cream, and crunchy Oreo cookie crumbs creates an incredible experience with every spoonful. This dessert is not only budget-friendly but also requires minimal utensils, making cleanup a breeze. Perfect for birthdays, holidays, or even just a fun family night in, this mousse will quickly become a favorite.
How to Make Oreo Mousse
Ingredients
- 1 package of Oreo cookies
- 1 cup heavy cream
- 1/2 cup powdered sugar
- 1 tsp vanilla extract
- 8 oz cream cheese
Directions
- Start by crushing the Oreo cookies into fine crumbs. You can use a food processor or place them in a zip-top bag and crush them with a rolling pin.
- In a mixing bowl, beat the cream cheese until smooth and creamy.
- Add the powdered sugar and vanilla extract to the cream cheese, mixing until everything is well combined.
- In another bowl, whip the heavy cream until stiff peaks form.
- Gently fold the whipped cream into the cream cheese mixture until no streaks remain.
- Carefully fold in the crushed Oreo cookies, reserving some for topping later.
- Spoon the mousse into serving cups, making sure to layer it nicely.
- Top each cup with the reserved Oreo crumbs for that extra crunch.
- Chill the mousse in the refrigerator for at least 2 hours before serving to allow it to set.
How to Serve Oreo Mousse
When it’s time to serve, you can present your Oreo mousse in individual cups or bowls for a fun, elegant touch. A sprinkle of chocolate shavings or a dollop of whipped cream on top can elevate the presentation even further. This dessert pairs beautifully with a warm cup of coffee or a scoop of vanilla ice cream for those craving something extra special.
How to Store Oreo Mousse
Oreo mousse can be stored in the refrigerator for up to 3 days. Make sure to cover the cups tightly with plastic wrap or store them in an airtight container. It’s best enjoyed within the first couple of days, as the Oreo crumbs may become softer over time. If you have leftovers, simply re-chill them before serving again.
Tips to Make Oreo Mousse
- For an extra touch, consider adding a layer of chocolate sauce between the mousse layers or drizzling it on top before serving.
- You can use low-fat cream cheese for a lighter version, but the texture might be slightly different.
- If you’re serving this to children, feel free to let them help crush the cookies for some fun family bonding in the kitchen.
Variations
If you’re feeling adventurous, you can customize the mousse by adding different flavored extracts like peppermint or almond for a unique twist. Additionally, you could substitute some of the Oreos with different flavored cookies, like peanut butter or mint, to create a whole new dessert experience.
FAQs
Can I make Oreo mousse ahead of time?
Absolutely! This mousse is great for making ahead of time. Just prepare it and store it in the refrigerator until you’re ready to serve.
Can I use whipped topping instead of heavy cream?
Yes, you can use whipped topping as a substitute for heavy cream. However, the texture may be slightly different — the mousse will be a bit denser.
How can I ensure my whipped cream stays fluffy?
Make sure to beat the cream until stiff peaks form. Avoid overmixing, as that can cause the cream to become grainy. Adding a tablespoon of powdered sugar while whipping can also help stabilize the whipped cream.
This Oreo mousse recipe is simple yet decadent, perfect for any occasion. With its creamy texture and irresistible cookie flavor, it is sure to become a beloved treat for everyone who tries it. Give it a whirl, and prepare for compliments!
Oreo Mousse
An easy and indulgent dessert with rich, creamy texture and Oreo cookie flavor, perfect for any occasion.
Ingredients
Method
Preparation
- Start by crushing the Oreo cookies into fine crumbs using a food processor or a zip-top bag and a rolling pin.
- In a mixing bowl, beat the cream cheese until smooth and creamy.
- Add the powdered sugar and vanilla extract to the cream cheese and mix until well combined.
- In another bowl, whip the heavy cream until stiff peaks form.
- Gently fold the whipped cream into the cream cheese mixture until no streaks remain.
- Carefully fold in the crushed Oreo cookies, reserving some for topping.
- Spoon the mousse into serving cups, layering it nicely.
- Top each cup with the reserved Oreo crumbs.
- Chill the mousse in the refrigerator for at least 2 hours before serving.
Notes
Store in the refrigerator for up to 3 days. Cover tightly for best freshness. For variations, add flavored extracts or substitute different cookies.